RSS

🏠 What to Expect During a Home Inspection in Ottawa: A Buyer’s Guide

Introduction – Why Home Inspections Are a Must in Ottawa

The Role of Inspections in the Homebuying Process

Whether you’re buying a cozy townhouse in Barrhaven or a historic home in The Glebe, a home inspection is one of the most important steps before closing the deal. It helps you understand exactly what you're buying—inside and out—so you can move forward with confidence (or walk away wisely).

Local Conditions Buyers Should Watch For

Ottawa’s weather extremes—cold winters, humid summers, and clay-heavy soils—can cause issues like foundation cracking, insulation gaps, and roof deterioration. That’s why local experience matters when hiring a home inspector.


What is a Home Inspection, and Why Does It Matter?

What It Includes (And Doesn’t)

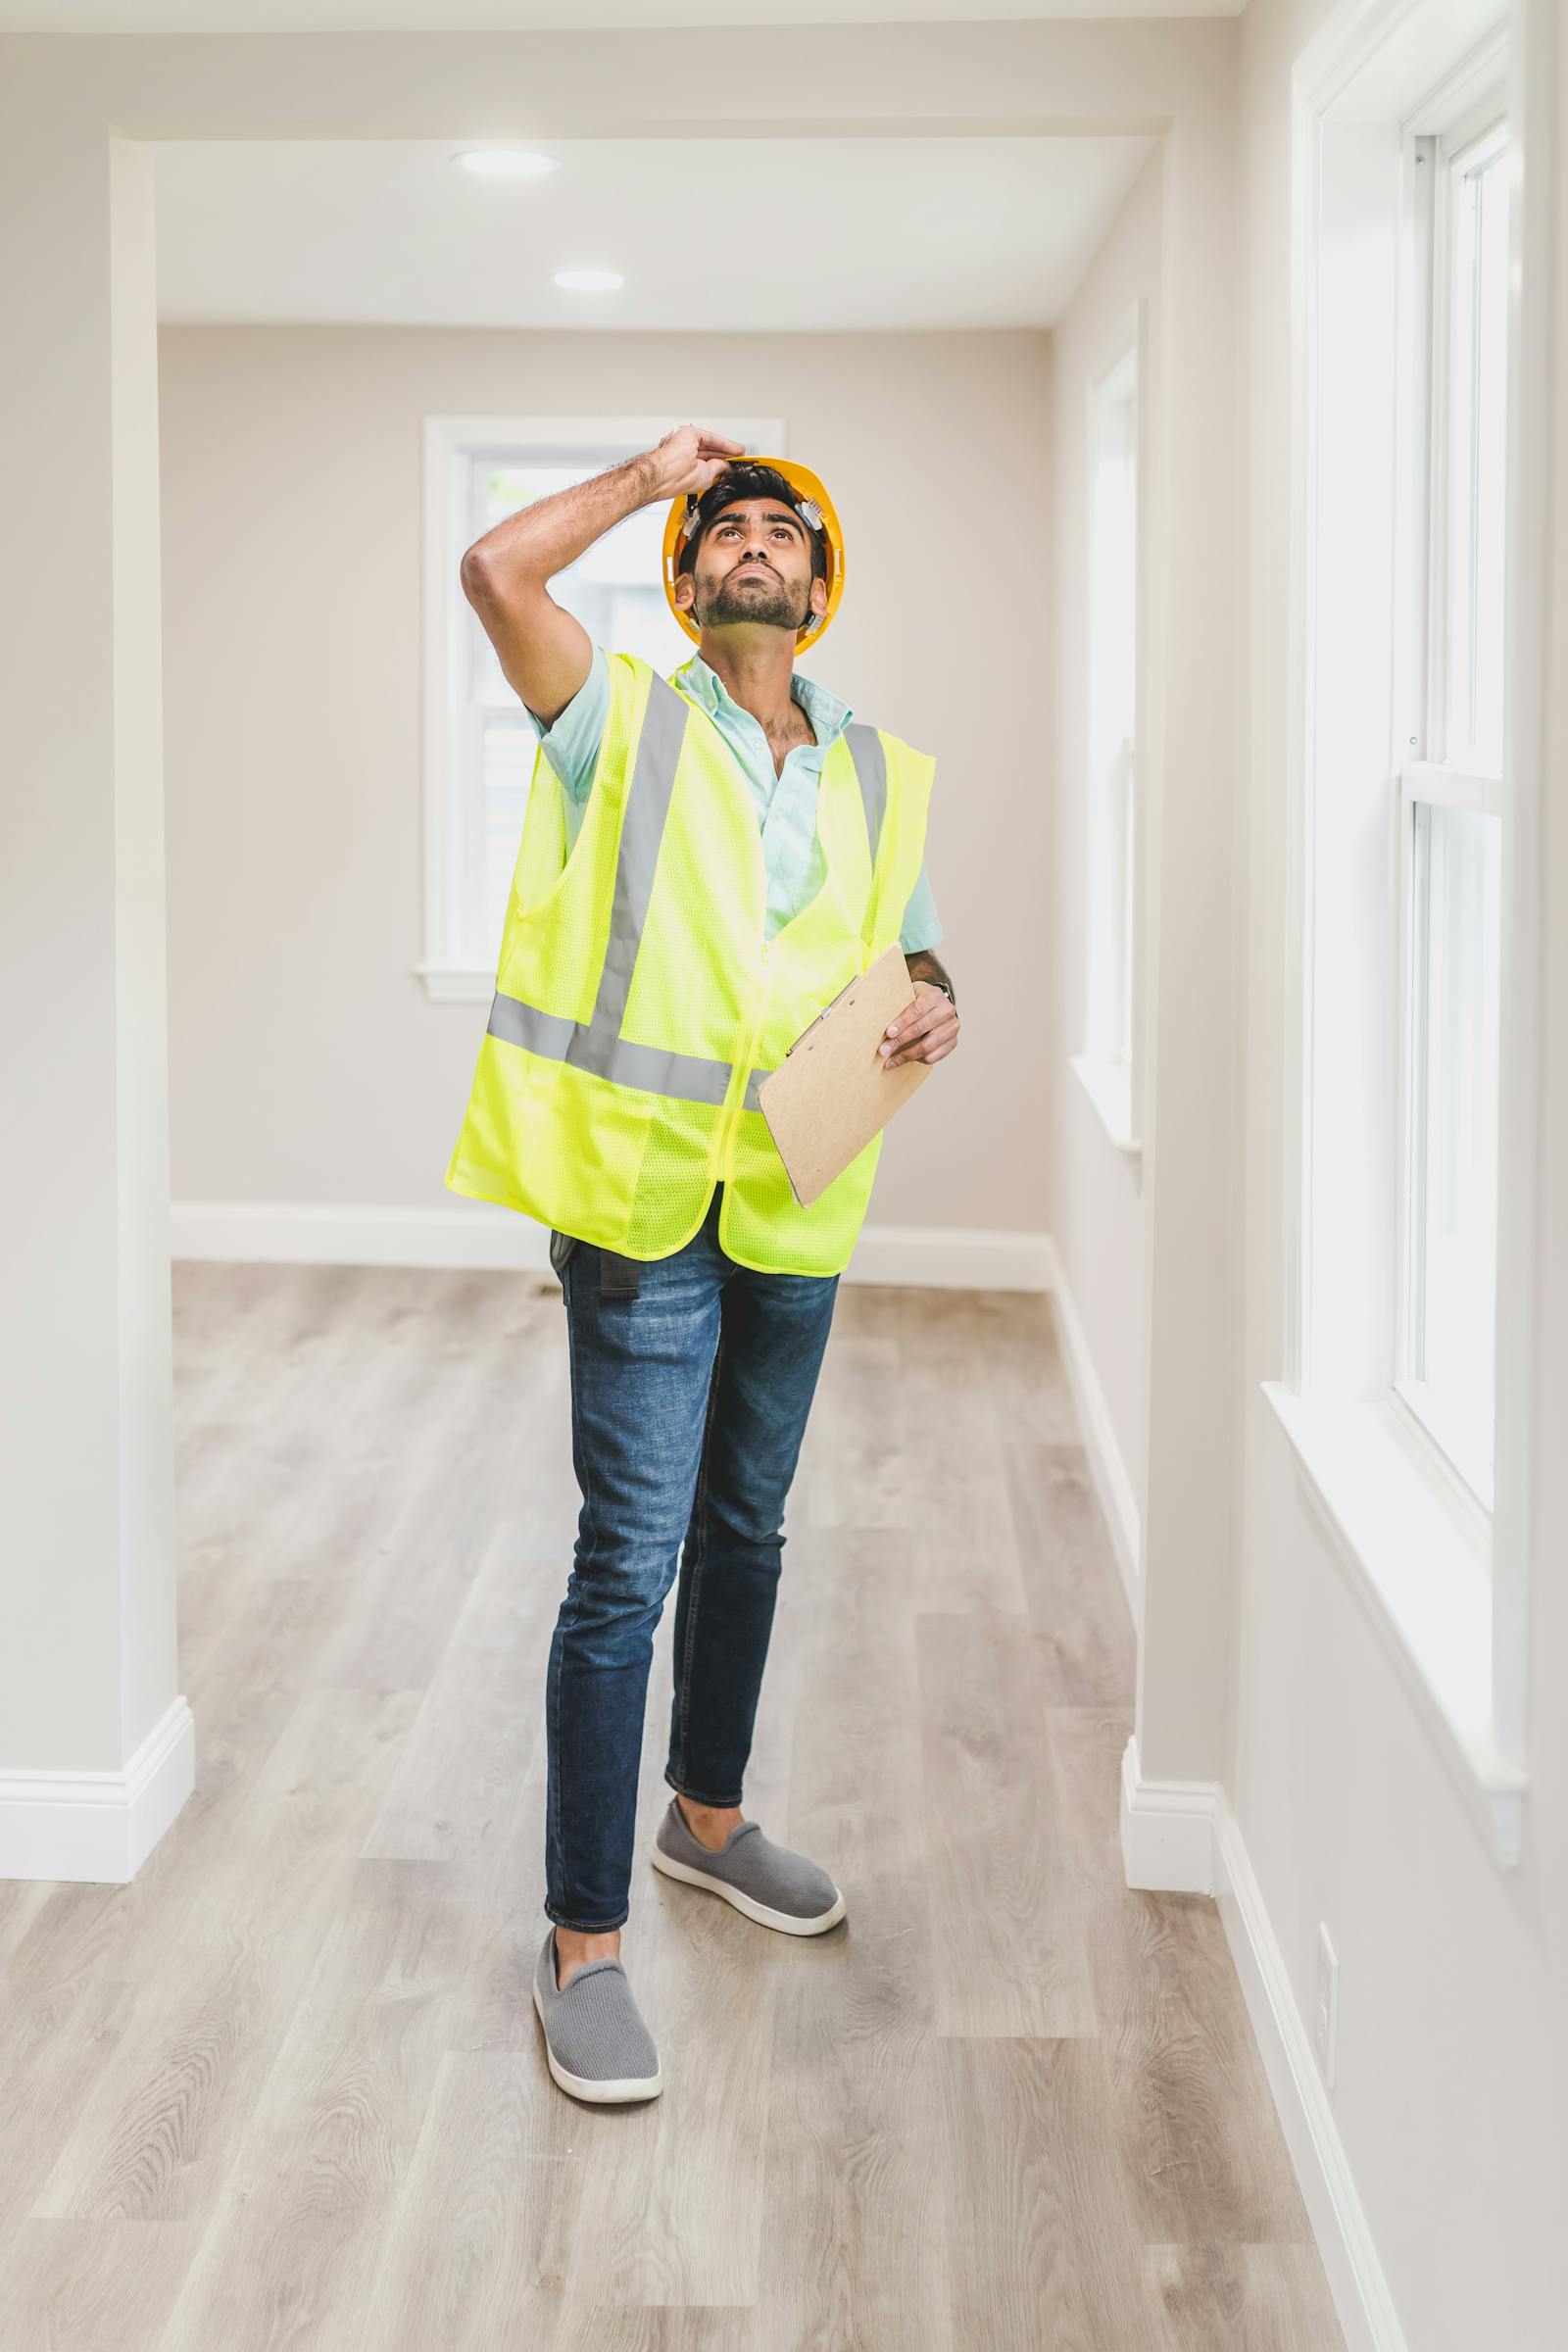
A home inspection is a non-invasive, visual examination of a home’s major components. It typically includes:

  • Roof and attic

  • Foundation and structure

  • Plumbing and electrical systems

  • Windows and doors

  • HVAC systems

  • Visible mold, moisture, and pests

It does not include tearing into walls, septic inspections, or chimneys (unless arranged separately).

How It Protects Buyers

An inspection protects you from buying a home with serious, unseen issues. It also gives you leverage to:

  • Renegotiate the sale price

  • Request repairs

  • Plan for future maintenance costs


What Ottawa Inspectors Typically Check

Structure and Foundation

Inspectors look for:

  • Wall and ceiling cracks

  • Uneven floors or door frames

  • Water damage or signs of settling

Plumbing and Electrical Systems

Common checks include:

  • Leaky faucets or poor water pressure

  • Type and condition of wiring

  • Electrical panel safety and grounding

Roofing, Attic, and Insulation

Expect them to evaluate:

  • Roof shingles and flashing

  • Attic ventilation and insulation levels

  • Evidence of leaks or pests

HVAC and Water Heaters

They’ll test:

  • Furnace and A/C function

  • Thermostat calibration

  • Hot water temperature and tank age

Exterior: Siding, Decks, Windows

Inspectors assess:

  • Condition of siding and soffits

  • Stability of decks and porches

  • Window seals, sills, and efficiency


The Home Inspection Timeline

When It Happens in the Buying Process

Home inspections occur after your offer is accepted, typically within 5–7 business days during the conditional period. This gives time to back out or renegotiate if issues arise.

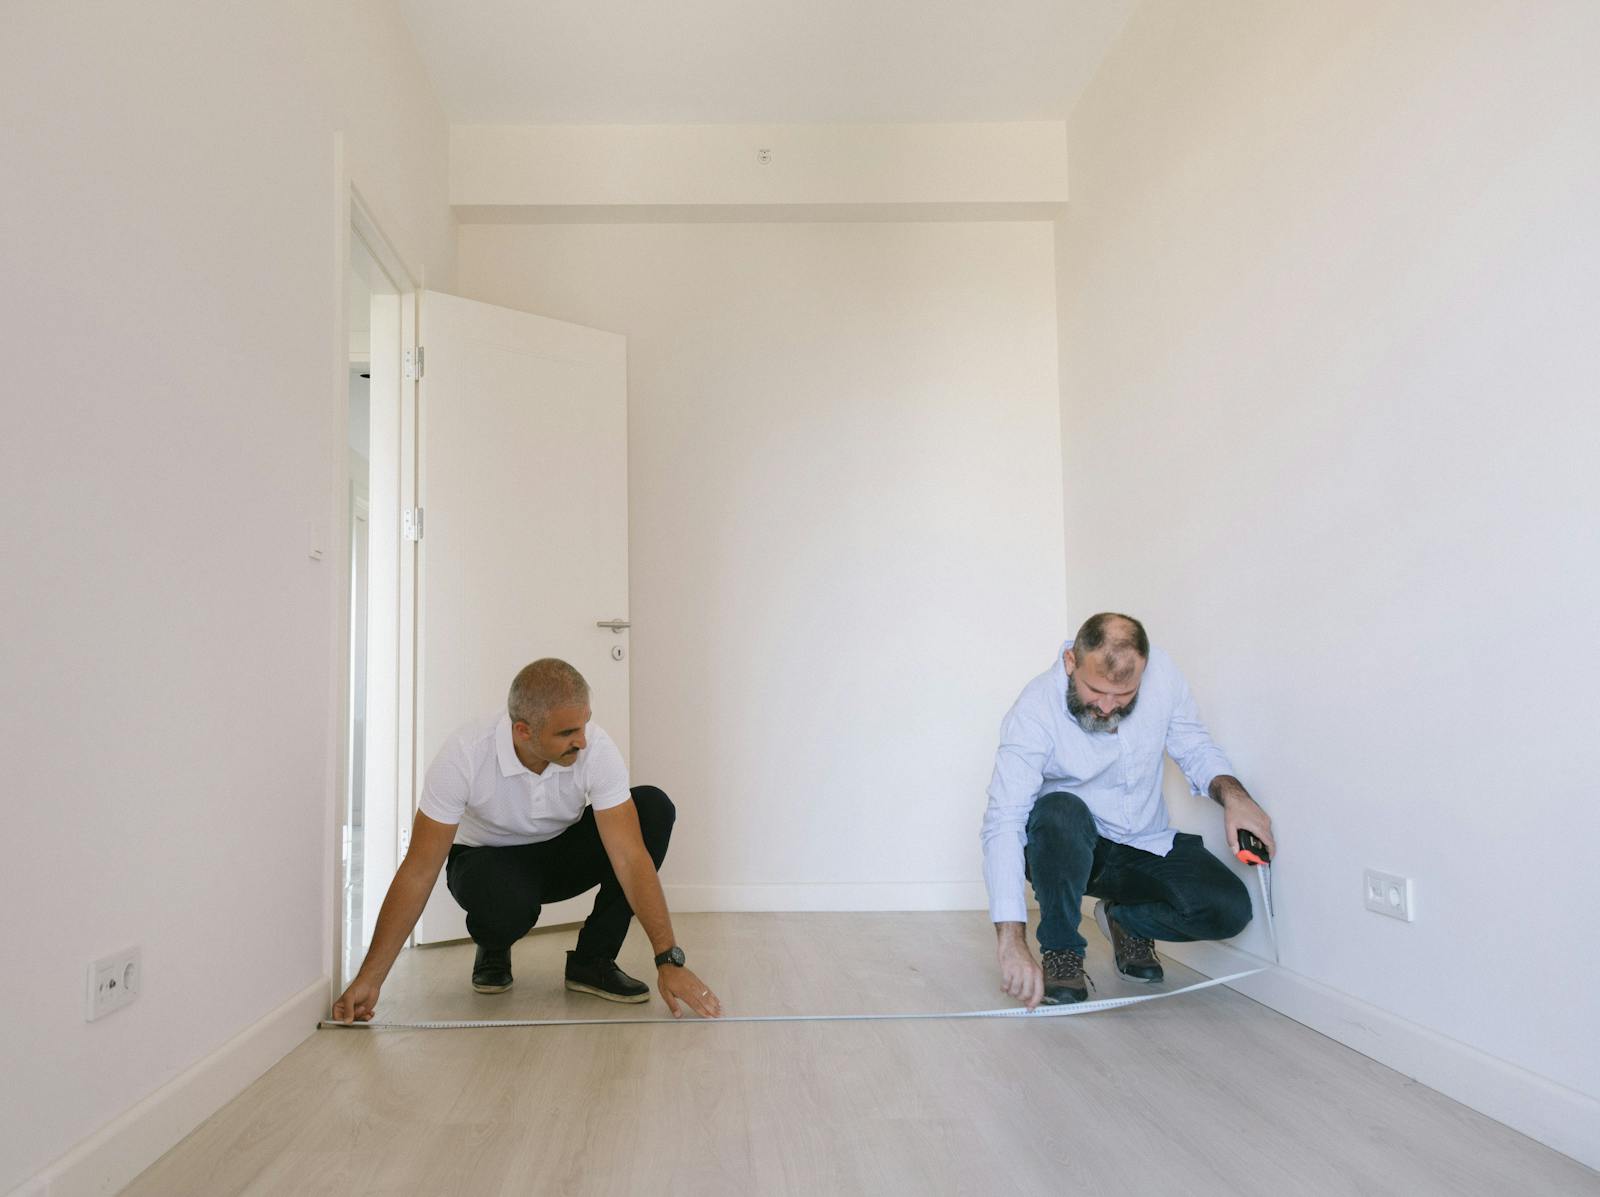
How Long It Takes and Who Attends

  • The process takes 2–3 hours, depending on size and condition.

  • Buyers are encouraged to attend and ask questions.

  • Your real estate agent may join, but the inspector leads the walkthrough.


What to Bring and Ask During the Inspection

Key Questions to Ask

  • “Is this issue cosmetic or structural?”

  • “How urgent is this repair?”

  • “What does this cost to fix?”

  • “What’s considered normal wear?”

What Buyers Should Watch For

  • Roof age and condition

  • Evidence of past water damage

  • Signs of DIY electrical or plumbing work

  • Foundation cracks or mold around basement walls

Understanding the Home Inspection Report

Red Flags vs. Cosmetic Issues

The home inspection report breaks down the home’s components into critical, moderate, and minor issues. Key things to pay attention to:

  • Red Flags: Foundation issues, electrical hazards, roof leaks, or signs of mold. These may require immediate attention or justify backing out of the deal.

  • Cosmetic Issues: Chipped paint, worn carpet, or outdated fixtures. These won’t affect function but may impact future renovation costs.

When to Walk Away

If major structural or mechanical problems are discovered and the seller refuses to make concessions or repairs, walking away might be the smartest move. It’s far better than inheriting a financial headache.


Using the Inspection to Negotiate Better Terms

Price Reductions and Repair Credits

A solid inspection report gives you negotiating power. You can:

  • Request the seller reduce the price to cover repairs

  • Ask for a repair credit or allowance

  • Have the seller complete key repairs before closing

In Ottawa’s market, especially during slower seasons, sellers may be more willing to accommodate reasonable requests.

Renegotiation Strategies That Work in Ottawa

  • Provide quotes from licensed contractors to support your asks

  • Focus on safety or functional issues (not just cosmetic concerns)

  • Use your agent to communicate calmly and professionally with the listing agent


How Much Does a Home Inspection Cost in Ottawa?

Typical Price Ranges

Most standard home inspections in Ottawa range from $450–$650, depending on size, age, and complexity of the property.

Extra Costs for Specialized Testing

You may want to add:

  • Radon testing: ~$150–$250

  • Mold testing: ~$250+

  • Septic inspections: ~$300–$500 (for rural properties)

  • Chimney or WETT inspections (for wood-burning systems): ~$150–$300

Always ask your inspector for a full pricing list before booking.


Pre-Listing Inspections: Should Sellers Do One Too?

Pros and Cons for Sellers

A pre-listing inspection can make your home more attractive by proving it’s well-maintained. It also:

  • Helps you price the home more accurately

  • Reduces last-minute surprises

  • Builds buyer trust

The downside? You'll need to disclose known issues, which could scare off buyers if repairs aren't addressed.

When It Can Help With Faster Sales

If you're in a buyer’s market or listing an older home, pre-inspections can help streamline negotiations and set your property apart from others.


Frequently Asked Questions

Q1: Are inspections mandatory?
No, but highly recommended—especially in older homes. They protect your investment and provide peace of mind.

Q2: What if I’m buying a new build?
New homes often have Tarion warranties, but inspections can still reveal builder shortcuts or early wear.

Q3: Can I skip it to make a stronger offer?
Waiving an inspection can make your offer more competitive, but it carries serious risks. Only do this with newer homes or when you’re comfortable with the condition.

Q4: What are common issues found in Ottawa homes?

  • Foundation cracks (due to clay soil)

  • Poor insulation

  • Roofing issues

  • Outdated aluminum wiring (in older homes)

Q5: Do condos need inspections?
Yes. Inspectors still check plumbing, electrical, HVAC (if inside the unit), and windows. They don’t inspect shared areas but can help spot unit-specific concerns.

Q6: How long is the report valid?
It’s a snapshot in time. If the closing is delayed for months, consider a follow-up or updated walkthrough.


Conclusion – Be an Informed Buyer with a Professional Inspection

A home inspection is one of the smartest investments you’ll make during the buying process. It gives you clarity, negotiating power, and protection against unexpected costs. Whether you're buying your first condo or upgrading to a family home, understanding the inspection process helps you move forward with confidence—and without costly surprises.

Read

How to Prepare for a Home Inspection as a Seller: A Comprehensive Guide

Selling your home can be an exciting yet stressful process, and one crucial step in the journey is the home inspection. For many buyers, the inspection report can be a make-or-break moment that influences their decision to move forward with the purchase. As a seller, being well-prepared for this inspection is key to ensuring a smooth transaction. Here’s how you can prepare for a home inspection and set yourself up for success.

1. Understand the Importance of a Home Inspection

A home inspection is a thorough evaluation of your property conducted by a professional inspector, usually hired by the buyer. The inspector will assess the condition of the home’s major systems and structure, including the roof, foundation, plumbing, electrical, heating and cooling systems, and more. The purpose of this inspection is to identify any existing or potential issues that could affect the home’s value or the buyer’s safety.

2. Declutter and Clean Your Home

Before the inspection, take the time to declutter and thoroughly clean your home. A clean and organized space not only makes a positive impression but also allows the inspector easy access to all areas of the home.

  • Clear Access to Key Areas: Ensure that the inspector can easily access the attic, basement, crawl spaces, electrical panels, furnace, and water heater. Remove any obstacles or stored items that might block these areas.

  • Tidy Up the Yard: Trim bushes, cut the grass, and clear any debris from the yard. Make sure that outdoor structures, like sheds or decks, are also clean and accessible.

3. Address Minor Repairs

Minor repairs can add up, and even small issues can make a big impact on the inspection report. Take the time to fix any small problems around the house:

  • Leaky Faucets: Fix any dripping faucets or running toilets.

  • Squeaky Doors: Lubricate squeaky hinges and ensure all doors close properly.

  • Burned-Out Bulbs: Replace any burned-out light bulbs to ensure all fixtures are working.

  • Cracks in Walls: Patch up small cracks in walls or ceilings, and touch up paint where necessary.

  • Loose Handrails: Tighten any loose handrails on stairs or porches.

4. Take Care of Major Repairs in Advance

If you’re aware of any significant issues with your home, such as a leaky roof, outdated electrical wiring, or foundation cracks, it’s wise to address these before the inspection. While this may involve a larger upfront cost, it can prevent more substantial negotiations or even the potential loss of a sale down the line.

  • Roof Repairs: If your roof has leaks, missing shingles, or other issues, consider having it repaired or replaced before the inspection.

  • HVAC Maintenance: Have your heating and cooling systems serviced by a professional to ensure they are in good working order.

  • Plumbing and Electrical: Fix any known plumbing leaks, and ensure your electrical system is up to code, with no exposed wires or faulty outlets.

5. Provide Documentation for Repairs and Maintenance

Gather all documentation related to repairs and maintenance you’ve completed on the home. This could include receipts for roof repairs, HVAC servicing, or appliance warranties. Providing this documentation to the inspector and buyer shows that you’ve taken good care of the property, which can help build trust and reduce concerns.

6. Check and Test All Safety Features

Ensure that all safety features in your home are functioning properly:

  • Smoke and Carbon Monoxide Detectors: Test all smoke and carbon monoxide detectors to make sure they are working correctly. Replace batteries if needed.

  • Fire Extinguishers: Ensure that fire extinguishers are easily accessible and up to date.

  • GFCI Outlets: Test ground fault circuit interrupter (GFCI) outlets in kitchens, bathrooms, and outdoor areas to ensure they are functioning correctly.

7. Make Necessary Utility Arrangements

Ensure that all utilities (electricity, gas, water) are turned on and working during the inspection. This allows the inspector to fully evaluate the property’s systems.

  • Pilot Lights: Make sure pilot lights are lit in the furnace, water heater, and gas fireplaces so that these systems can be tested.

  • Appliance Access: Ensure that built-in appliances, like dishwashers, ovens, and microwaves, are connected and functioning.

8. Prepare for the Inspector’s Arrival

On the day of the inspection, make it easy for the inspector to do their job:

  • Provide Keys or Access Codes: If any areas of your home require a key or code to access, such as a locked shed or gated area, provide these to the inspector.

  • Leave the Property: It’s generally recommended that sellers leave the home during the inspection to allow the inspector to work without interruptions. If you have pets, take them with you or ensure they are secured.

9. Be Ready for Follow-Up Negotiations

Even with thorough preparation, the inspection may reveal issues that need to be addressed. Be prepared for follow-up negotiations with the buyer. They may request repairs, a price reduction, or a credit at closing. Approach these negotiations with an open mind and a willingness to compromise to keep the sale on track.

Conclusion

Preparing for a home inspection as a seller is about more than just fixing what’s broken; it’s about presenting your home in the best possible light. By taking the time to clean, make repairs, and ensure everything is in good working order, you can reduce the likelihood of surprises during the inspection and make the selling process smoother for everyone involved. A well-prepared home not only makes a positive impression on the buyer but also helps to avoid delays and complications in the closing process.

Take these steps to ensure your home inspection goes off without a hitch, and you’ll be one step closer to successfully selling your home.

Read
Categories:   Advice | Alta Vista | Apartment | Arnprior Real Estate | Available Programs | Bank of Canada Rate Announcement | Barrhaven | Barrhaven Downtown, Barrhaven - Strandherd Real Estate | Barrhaven East | Beacon Hill South | Building | Bungalow | Buying | Byward Market | Byward Market, Lower Town Real Estate | Byward Market/Lower Town, Sandy Hill Real Estate | Car-Free | Carleton Place | Carleton University | Carlington | Centretown | Centretown, Ottawa Centre Real Estate | Chapel Hill | Closing Costs | Condos | Cottage | Decoration | Divorce | Dow's Lake/Little Italy, Dow's Lake/Little Italy Real Estate | Dow's Lake/Little Italy, West Centre Town Real Estate | Down Payment | Downsizing | Downtown | Dows Lake - Civic Hospital and Area (4502 - West Centre Town) Real Estate | Dows Lake/Little Italy, West Centre Town Real Estate | Duplex | Eco-Friendly | Embrun | Fall | Family | Final Walkthrough | Finance | First-Time Buyer | Flipping Homes | Food | Foreclosure | Friends | Glebe | Guide | Half Moon Bay - Strandherd, Barrhaven Real Estate | Hintonburg | Holidays | Home Business | Home Inspection | Home Office | Home Staging | Homes | Immigrants | Investing | Investment Property | Kanata | Kemptville | Land Transfer Tax (LTT) | Lawyer | Layout | Lease | Lebreton Flats | Lifestyle | Living In | Lowertown/Byward Market, Lowertown/Byward Market Real Estate | LRT | Luxury Homes | Market Advice | Mortgage | Moving | Moving From | Moving To | Multi-Family | Nature | Negotiation | Neighborhoods | New Canadian | New Edinburgh | New-Builds | Night Life | O-Train | Old Ottawa South | Orleans | Orleans South | Ottawa | Ottawa Centre, Centretown Real Estate | Ottawa East/Greystone Village, Ottawa East/Greystone Village Real Estate | Ottawa Real Estate | Parents | Parks | Pet-Friendly | Pre-Approval | Pre-Construction | Price Your Home | Professionals | Property Tax | Questions | Real Estate Broker | Relocation | Renovation | Renting | Retirement | Riverside South | Rockcliffe | Rockland | Russell | Schools | Seasons | Selling | Smart Home | Spring | Stittsville | Suburb | Summer | Summer Hone | Tenants | Things To Do | Tips | Toronto | Touring | Transit | Trends | University | University of Ottawa | Upgrades | Urban Living | Vacation Rental | Vancouver | Vanier | Viewing | Walkable | Wealth | Westboro | WFH | Winter | Work From Home
The trademarks REALTOR®, REALTORS®, and the REALTOR® logo are controlled by The Canadian Real Estate Association (CREA) and identify real estate professionals who are member’s of CREA. The trademarks MLS®, Multiple Listing Service® and the associated logos are owned by CREA and identify the quality of services provided by real estate professionals who are members of CREA. Used under license.